How to Record & Run Macros to Automate Tasks in Word

Do you perform the same actions often in Word? Save yourself time by creating a macro to run multiple actions with one click.
Macros in Microsoft Word allow you to record a series of actions and then execute them with a single click of a button. Microsoft Word Macros are like using Automator on a Mac. They can save you time on actions you perform often in Word.
For example, when I write articles in Word, I always set the margins to 0.5″, change the view to Web Layout, and format the first line as Heading 1. Today we’ll cover recording and running a macro in Word using this example.
NOTE: Macros are specific to Microsoft Office programs and do not work outside of them.
Automate Tasks in Microsoft Word by Recording Your Actions into a Macro
Step 1: Create a New Macro
Before recording a macro, make sure you know what actions you want to record. Macros record every action you take, so if you do something wrong, the macro will record it. You may want to make a list of the actions to perform in a text file to remind yourself.
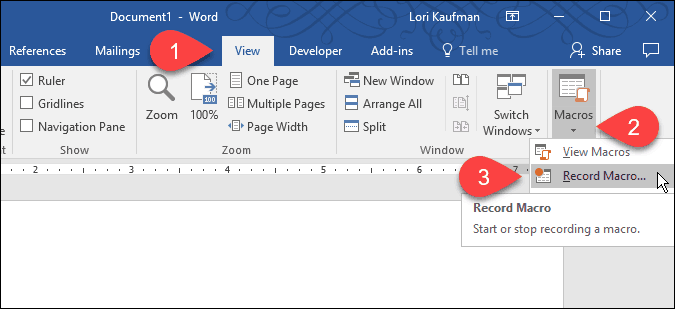
To start recording a macro, click the View tab. Then, click the down arrow on the Macros button in the Macros section and select Record Macro.
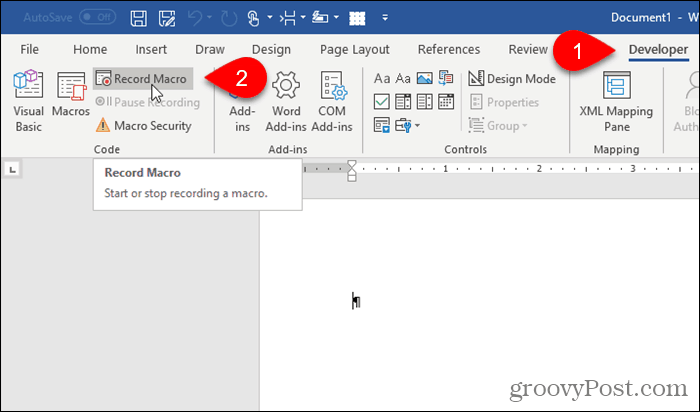
You can also enable the Developer tab and click Record Macro in the Code section.
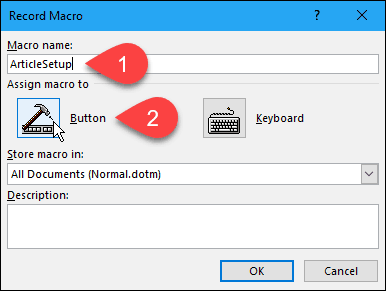
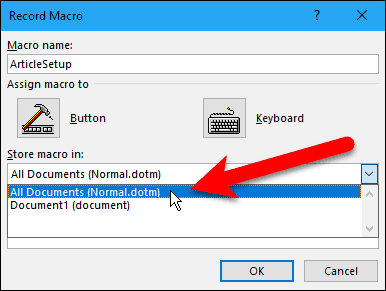
On the Record Macro dialog box, enter a name in the Macro name box. The name cannot contain spaces.
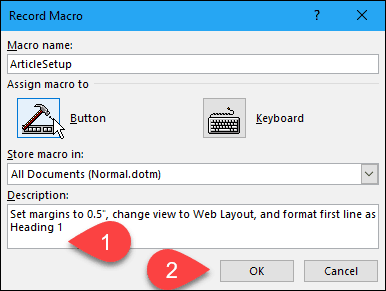
We’re going to add our macro to the Quick Access Toolbar, so click Button.
Step 2: Add the Macro to the Quick Access Toolbar
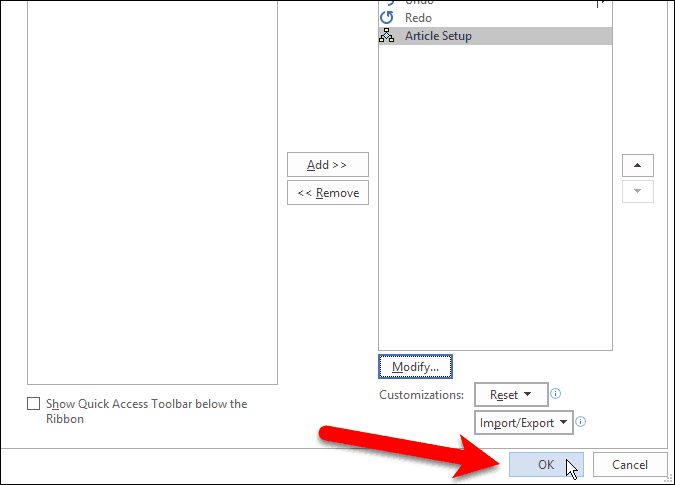
The Customize the Quick Access Toolbar screen on the Word Options dialog box displays. Select the new macro in the list on the left and click Add.

By default, the name you assigned to the macro with “Normal.NewMacros.” added to the beginning is what will display when you move your mouse over the button on the Quick Access Toolbar.
Let’s change the name to something shorter. Select the macro in the list on the left and click Modify.

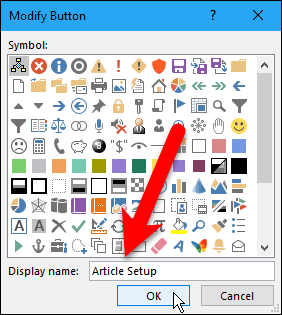
On the Modify Button dialog box, enter a new name for the button in the Display name box. This name can have spaces.
If you want to change the icon for the button, click on a new icon in the Symbol box.
Click OK.
Step 3: Choose Where to Save the Macro
You’re returned to the Record Macro dialog box. By default, the macro is stored in the Normal template, so it’s available to all new documents based on the Normal template (which is the default template). If you want the macro to only be available in the current document, select the name of the current document in the Store macro in drop-down list.
In my example, I’m going to accept the default and store the macro in the Normal template.
Step 4: Add a Description to the Macro
Enter a description of the macro in the Description box, if you want, and click OK.
Back on the Word Options dialog box, click OK.
Step 5: Record Your Actions
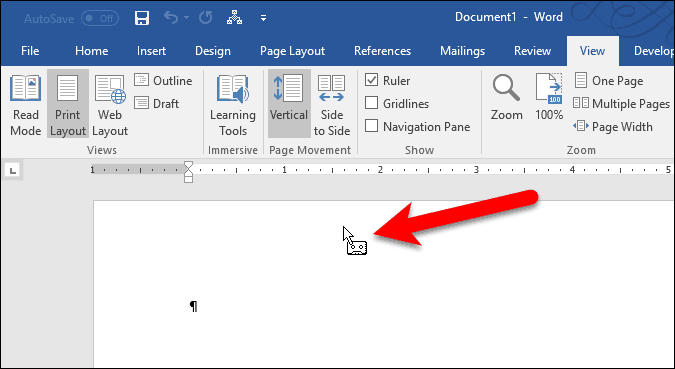
The cursor now has a cassette tape icon attached to it meaning you’re in macro recording mode. Any actions you take will be part of the macro.
Perform the actions you want included in the macro.
NOTE: Remember that all actions will be recorded, even ones you don’t mean to do. So, be sure you know which actions you want to take. Again, you may want to make a list of the steps in a text file on one side of your screen to refer to as you record your macro.
Step 6: Stop Recording Your Actions
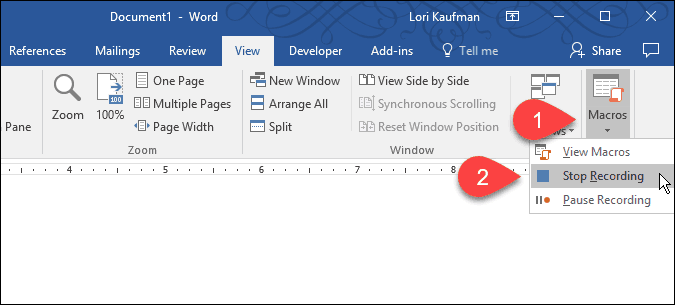
When you’re finished recording your macro, go back to the View tab, click the down arrow on the Macros button, and select Stop Recording.
Step 7: Run the Macro
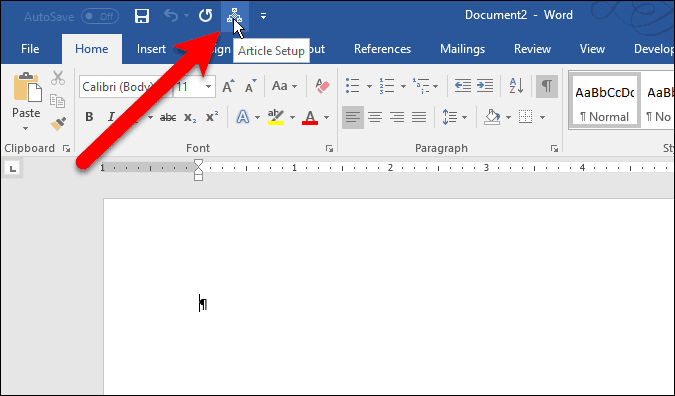
To run my macro, I open a new Word file and click the Article Setup button that’s now available on the Quick Access Toolbar.
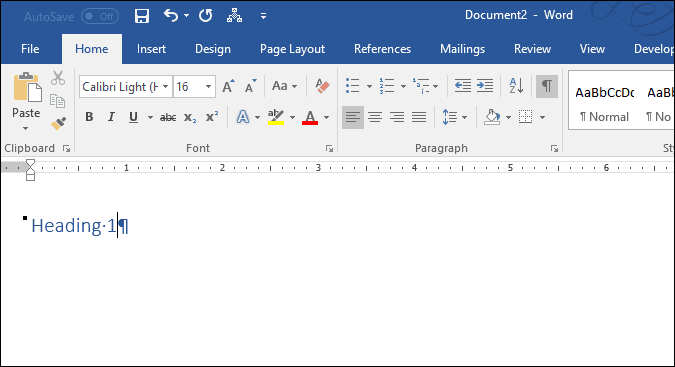
The actions I recorded in my macro are executed and my Word document is now set up the way I like it.
Do you use macros? What kind of macros have you recorded to save yourself time? Let us know your ideas and experiences in the comments.
Richard
September 21, 2017 at 12:58 pm
THANK YOU LORI FOR YOUR POST AND FOR CLEAR AND CONCISE INSTRUCTIONS!!! THIS WILL DEFINITELY SAVE ME A TON OF TIME. RICHARD
Trisha Fitzsimmons
September 21, 2017 at 4:24 pm
Hi there Lori – I’m in Sydney Australia and love getting emails as they have certainly helped me with Windows 10.
Regarding the above MACRO – can that be used in Microsoft Outlook?
Your response would be greatly appreciated.