If you own a Mac, chances are you already know that the new version of OS X — Mountain Lion, is now available in the Mac App Store. Here’s how to do an upgrade install from Lion to Mountain Lion.
Can My Mac Run Mountain Lion?
If you’re Mac is already running Lion, chances are it’s going to run Mountain Lion too. But if you’re not sure, here’s a list of models from apple.com that support Mountain Lion.
- iMac (Mid 2007 or newer)
- MacBook (Late 2008 Aluminum, or Early 2009 or newer)
- MacBook Pro (Mid/Late 2007 or newer)
- MacBook Air (Late 2008 or newer)
- Mac mini (Early 2009 or newer)
- Mac Pro (Early 2008 or newer)
- Xserve (Early 2009)
General Requirements
OS X 10.6.8 or later, 2GB RAM or higher, 8GB of Hard Drive Space or more, Apple ID and Internet connection. You can find more details by checking out the OS X Mountain Lion Tech Specs.
Get Your Mac Ready for Upgrade
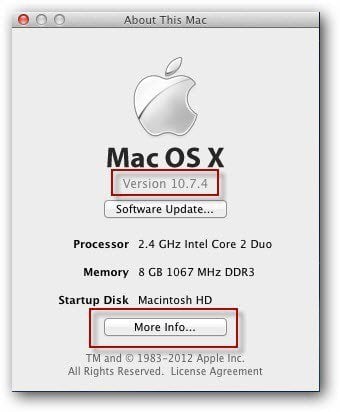
First, make sure you’re Mac is up to date and running OS X 10.7.4 Lion. Click the Apple icon and About This Mac. You’ll get a screen that lists the basic information about your system.

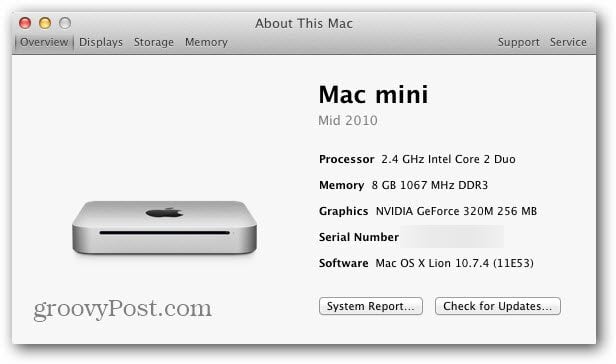
Click More Info to get detailed information about your Mac. Here you can see I have a Mac Mini Mid 2010 with an Intel Core 2 Duo CPU, 8GB of RAM and OS X Lion 10.7.4 (11E23). While you’re on this screen, go ahead and click Check for Updates.

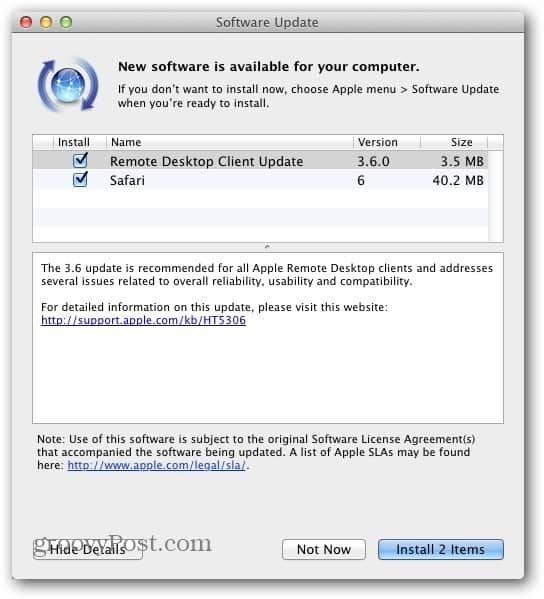
Then install any updates for your Mac’s software that are available.

After you’re OS is all up to date, open the Mac App Store and check for updates for the apps you have installed. The only app that has an update on my system is iPhoto.
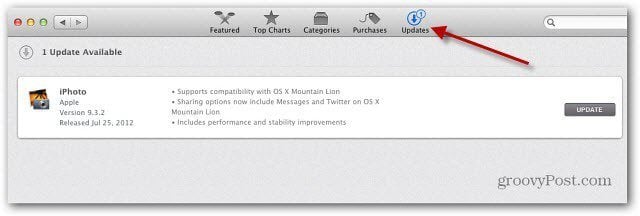

This update will take several minutes to update because it’s over 1GB.


When everything is up to date, back up your important data if you don’t already have a solid backup strategy.


Install OS X Mountain Lion
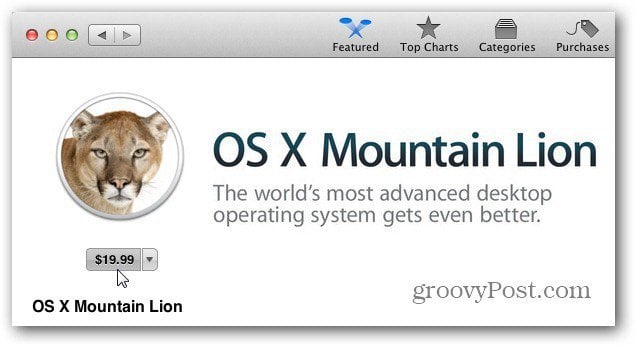
After your OS and apps are up to date, launch the Mac App Store and download OS X Mountain Lion ($19.99 for Upgrade).

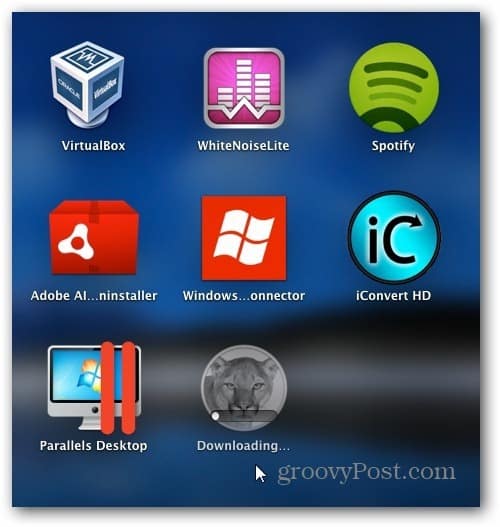
A Mountain Lion icon will display on the Launchpad while it’s downloaded. The amount of time it takes will vary. Mine took a couple of hours because I upgraded the same day it became available. I also recommend you plug in an Ethernet cable versus upgrading over WiFi.

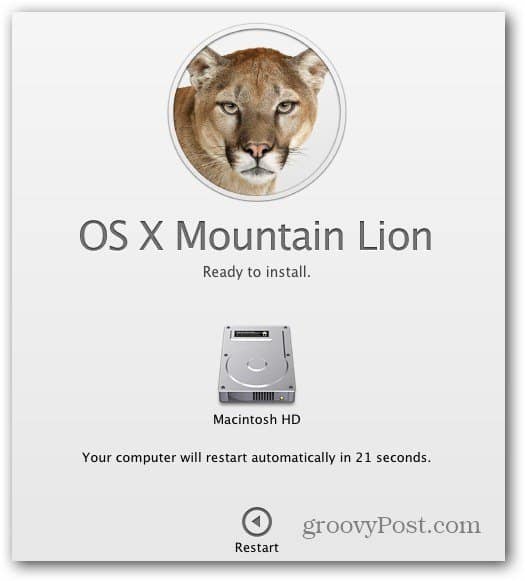
Installation is straight forward. Agree to the EULA and your system will restart automatically and complete the install process.



After the reboot, you’ll see an Install OS X screen with a progress bar at the bottom. On my Mac Mini, the install took about an hour.
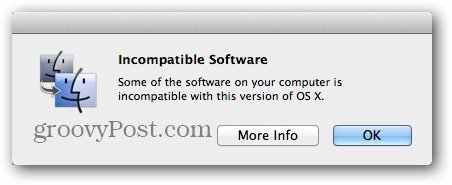
After Mountain Lion was installed, I found a message letting me know I had some incompatible software installed.

The incompatible software was also shown from icons on the Dock. For example, here I’m running Parallels Desktop 6.0 and cannot run it on Mountain Lion.
![]()
![]()
The software is moved into a folder called Incompatible Software on your drive.


I had a few programs that weren’t compatible with the new version of OS X including Avast, Parallels and VirtualBox. Keep this in mind before upgrading your Mac to Mountain Lion. Check to make sure any “mission critical” programs you use are compatible with it.
Often times, third party software developers need time to catch up to the latest OS. It might take a few weeks, even months before there’s an upgrade for the programs to run…if they will at all. Some programs will just stop working, some you can update and some you’ll need to upgrade to the latest version. If this is your only Mac, I recommend waiting a few weeks or until the first update to Mountain Lion is released before doing an upgrade.


It’s also worth noting that Office for Mac 2011 works successfully, but there’s a couple critical updates available. If you have Microsoft AutoUpdate enabled, it will pop up so you can install the new version of AutoUpdate.
You can check for updates manually too. Open an app like Word for Mac, click Help then Check for Updates.


After that it will check for updates again, and it will find the Office 2011 14.2.3 update.


If you’re sure everything will work and you have a solid backup, then go ahead and do the upgrade and enjoy your new Mac OS.


Leave a Reply
Leave a Reply
